WATER DAMAGE: WHAT HAPPENS WHEN A CAMERA FLOODS AND HOW TO PREVENT IT
WATER DAMAGE: WHAT HAPPENS WHEN A CAMERA FLOODS AND HOW TO PREVENT IT
One of the worst things that can happen during a survey is a camera breaking inside a well and taking on water. We build our systems to handle extreme depth and pressure, but the reality is the field is unpredictable. Bumps, drops, tight access points, and hard impacts happen.
When a camera floods, it’s easy to feel the panic set in. The good news is there are steps you can take right away to limit damage and give the unit the best chance at recovery.
WHAT SHOULD I DO NEXT?
First, it helps to understand the difference between water exposure, water intrusion, and water flooding:
Water Exposure: The camera glass may be cracked, but you’re not sure if water entered the unit.
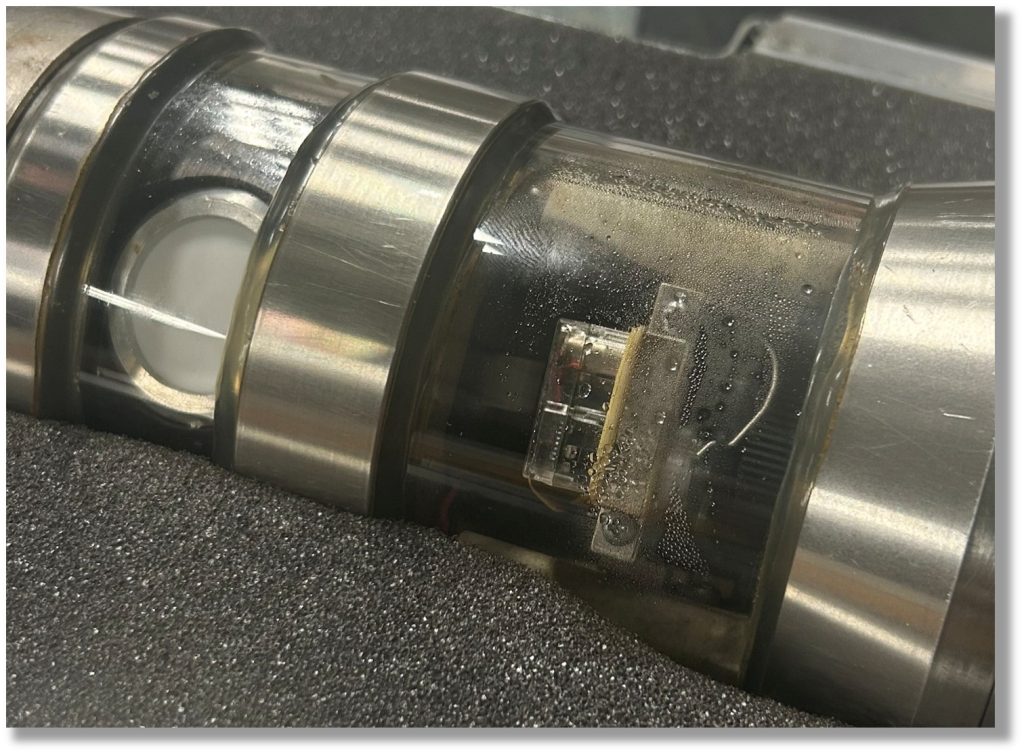
Water Intrusion: Water has entered the camera, and you can see droplets inside.
Water Flooding: Water is clearly present throughout the camera and internal surfaces.
If there is any chance that the camera has had contact with water, the best next step is to turn off the power and contact us immediately.
Even if you’re unsure how severe it is, we can help determine what to do next and whether the camera is likely recoverable.
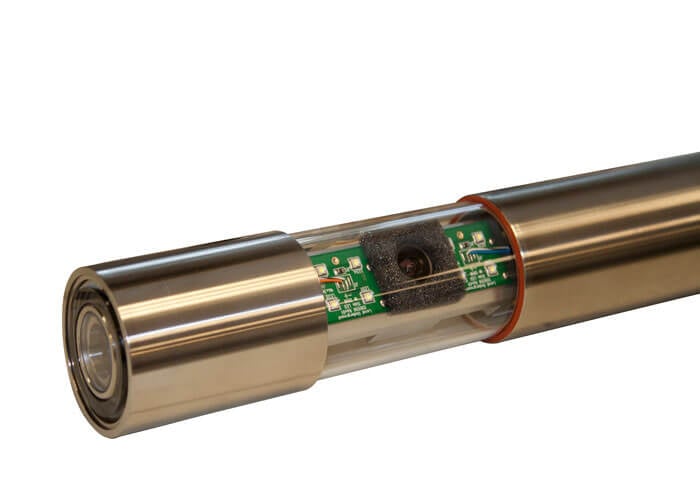
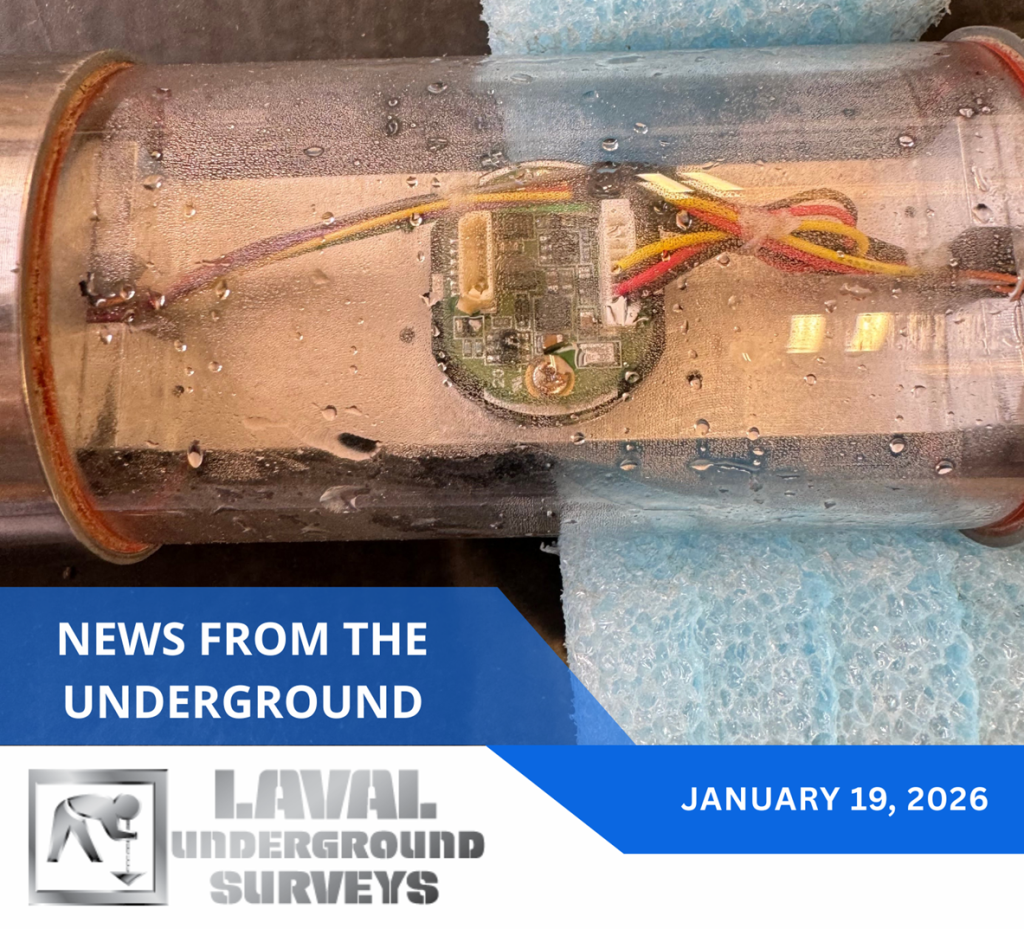
IMAGE: Visible Water Inside of the Cameras
WHAT NOT TO DO
The worst thing you can do is wait. The longer the camera sits in water, the worse the damage becomes.
The second worst thing you can do is try to dry it out and repair it yourself. Once water enters a camera, the damage isn’t always obvious right away. Even if it looks like it recovered or starts working again, water exposure can trigger internal issues that develop slowly over time. Additionally, if the camera is powered on before all water is fully removed, residual moisture can short critical electronic components resulting in costly damage.
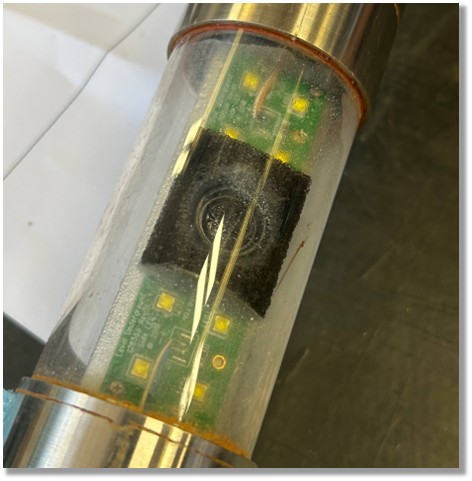
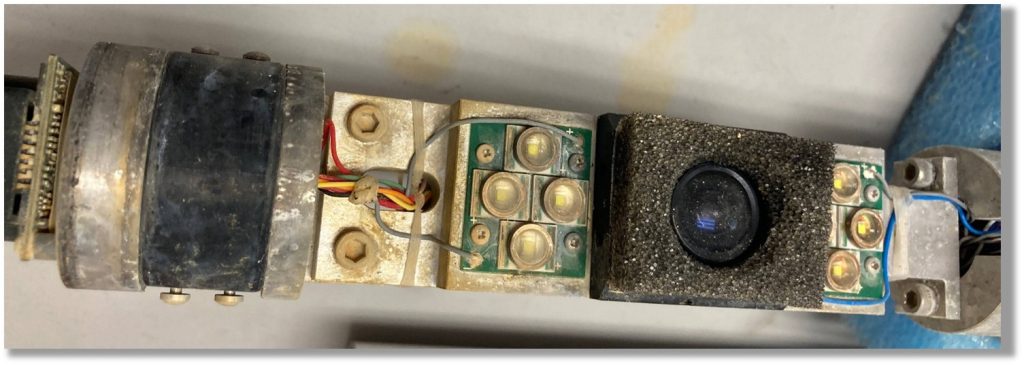
IMAGE: Examples of Corrosion in the Cameras
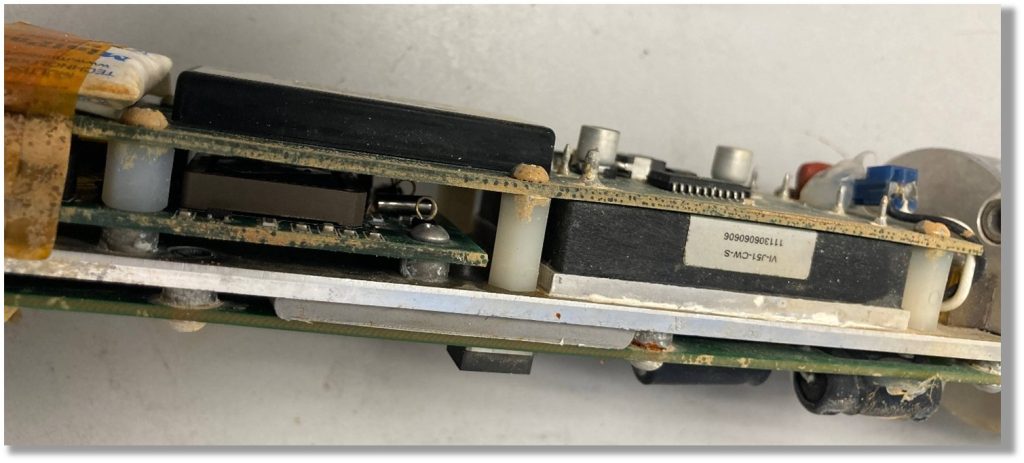
WHY WATER-DAMAGED CAMERAS CAN BE HARD TO REPAIR
Even when a unit is repairable, water damage creates a unique challenge because the full impact often isn’t visible at first inspection.
When water contacts internal components, the most common long-term issue is corrosion, and corrosion doesn’t always show up immediately. It can start small, then spread and weaken electronics, connections, and circuitry.
That’s what makes water damage so difficult. A camera may appear fine after service, but residual effects can surface soon after. Once components begin failing due to corrosion, it can quickly become a downhill battle.
IMAGE: Other Examples of Corrosion in the Cameras
HOW CAN I PREVENT THIS?
We know accidents can still happen even with best practices. But a few proactive habits can make a big difference:
Inspect the camera before every survey.
Check the glass carefully for:
Cracks
Chips
Scuffs
impact marks
Make sure the lens is clean enough to inspect.
If the glass is dirty, foggy, or hard to see through, it’s easy to miss early warning signs.
A “foggy” appearance is a red flag.
If the glass looks hazy or abnormal, it may indicate damage or compromised integrity. It’s important not to expose it to water until it’s inspected.
Build inspection into your routine.
A majority of the time the camera is damaged outside of the hole or on the way to the jobsite. Adding a quick visual check before each job takes only a moment, but it can prevent major downtime, repair costs, and equipment loss.
Utilize extra equipment.
Another prevention method that requires some extra equipment but is still very helpful is utilizing our Centralizer Bands and Lens Shields. By their very nature, both are designed to add that extra buffer when the surveys get a little rough.
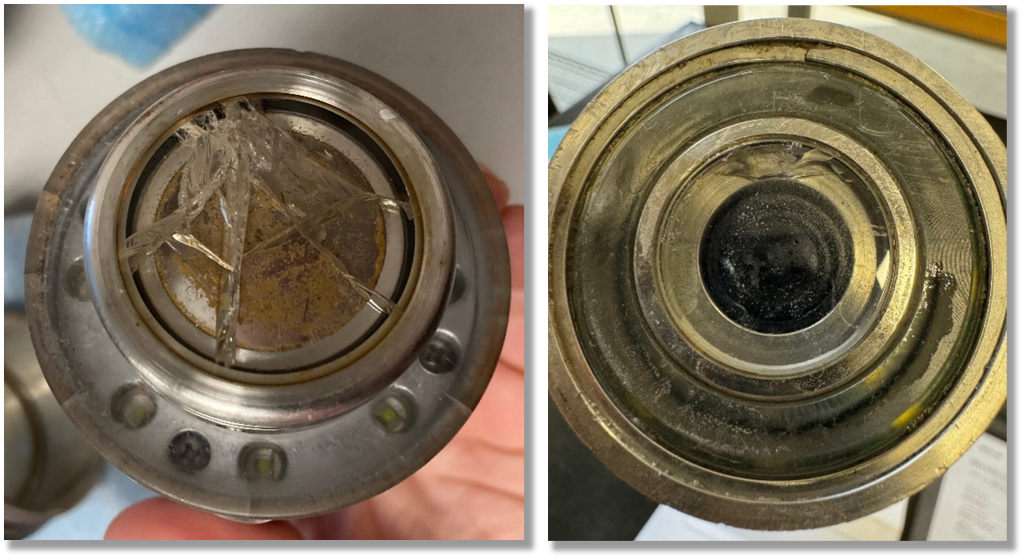
IMAGE: Examples of Cracked Glass on the Cameras
NEED HELP? REACH OUT
If you ever suspect water exposure, even if you’re unsure, contact us. We’ll help you evaluate the situation and decide the best next step.
Because when it comes to water damage, early action can make all the difference.
Recent Posts
BORESAVER: IKL PRO AND ULTRA C
RCAM 1000 XLT VS. TLE: ONE PLATFORM, TWO CONFIGURATIONS
WATER DAMAGE: WHAT HAPPENS WHEN A CAMERA FLOODS AND HOW TO PREVENT IT
Gallery
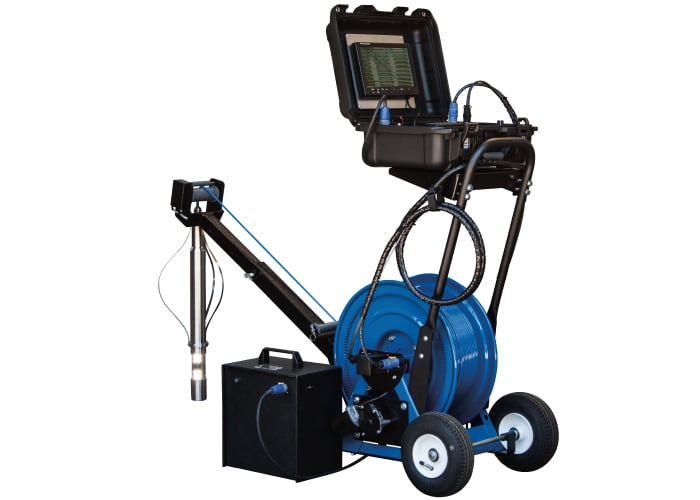
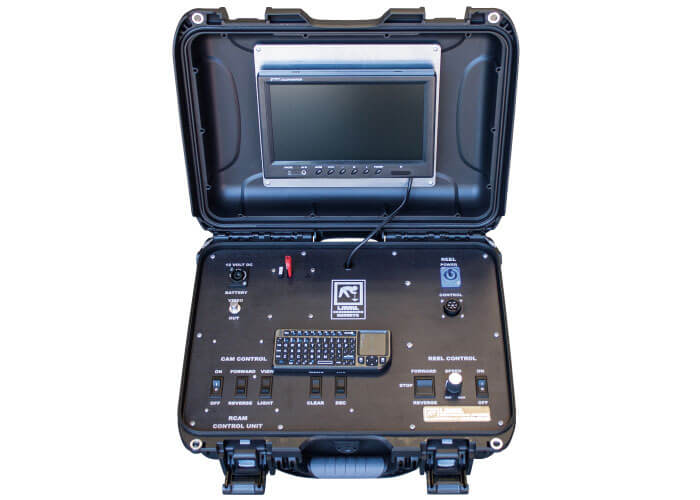
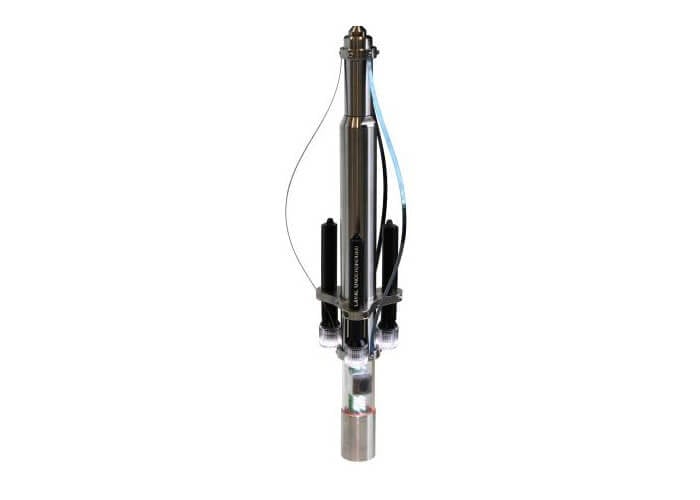
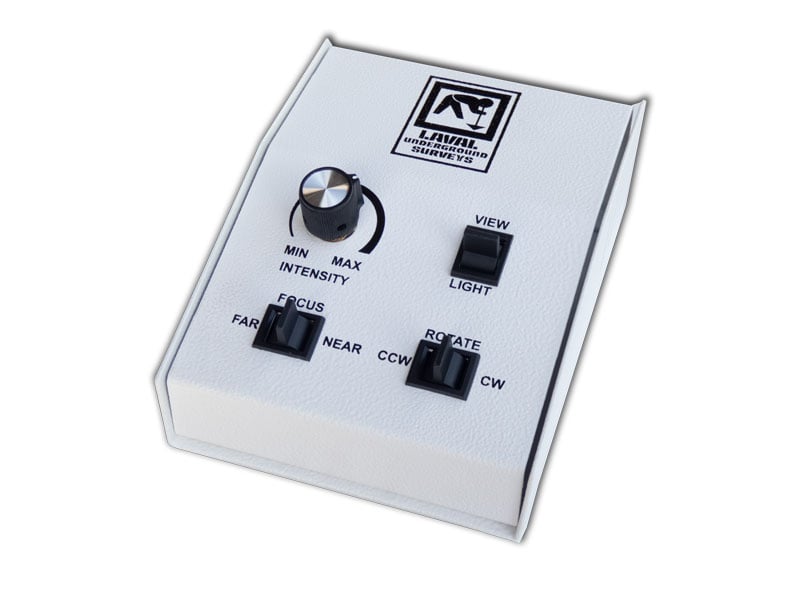
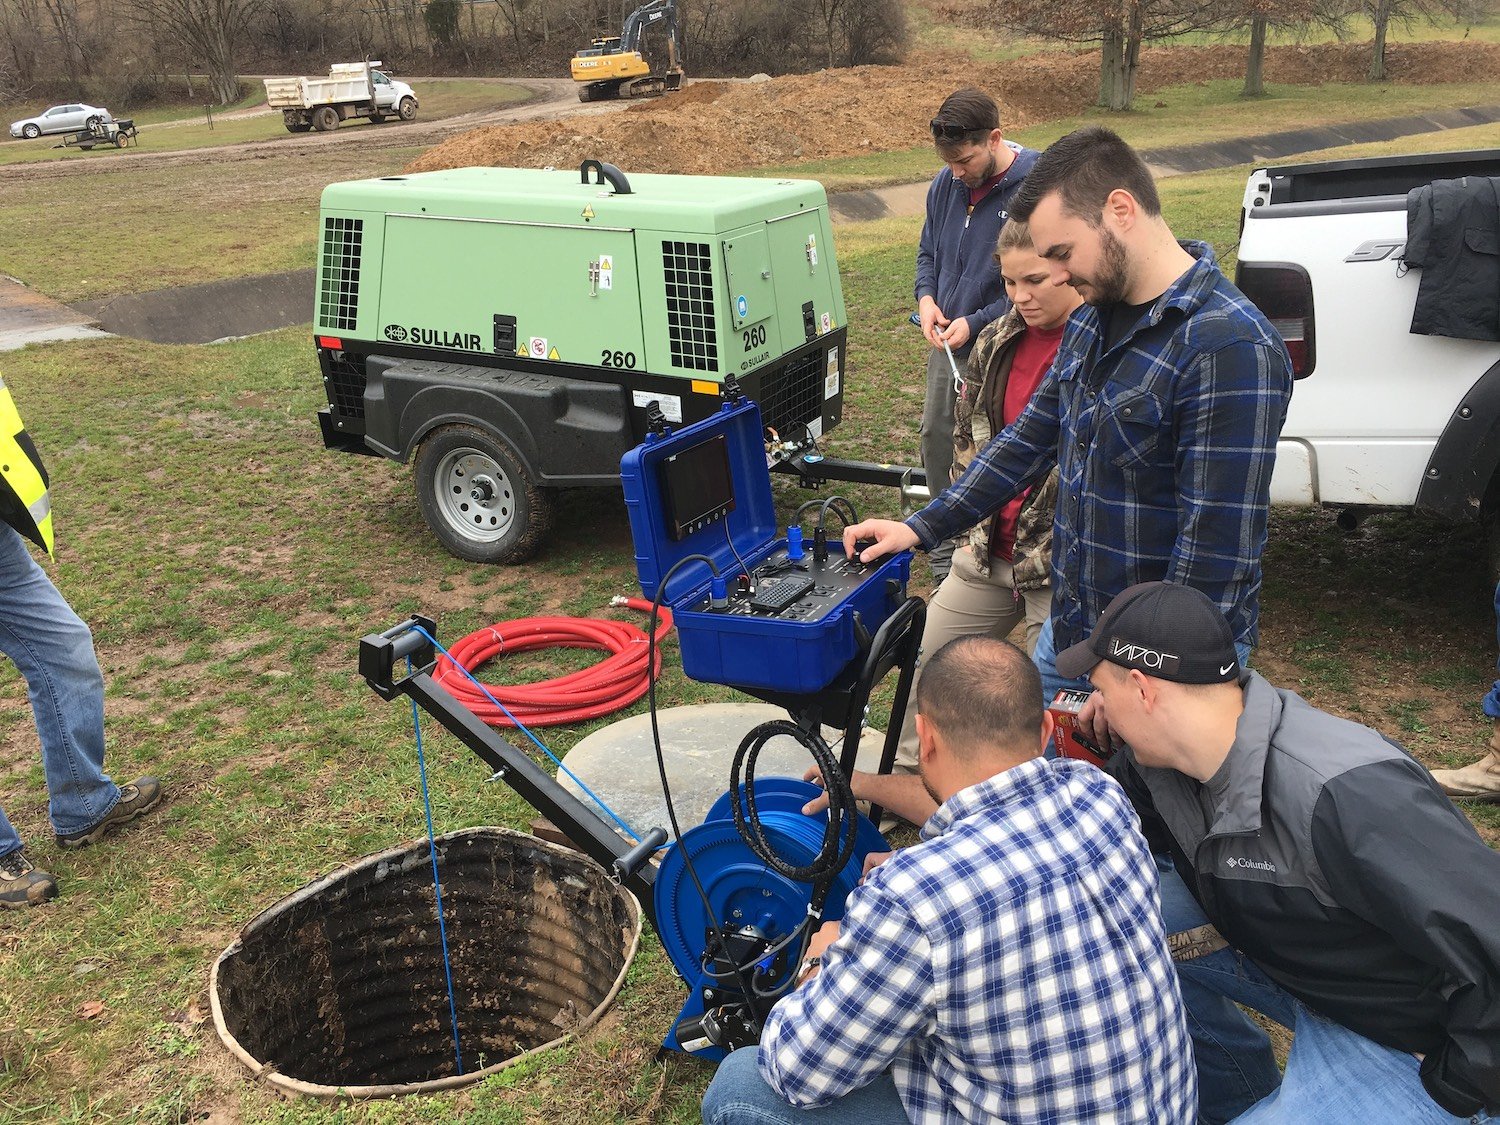
Using the control unit on the RCAM system
RCAM on winch and pully system
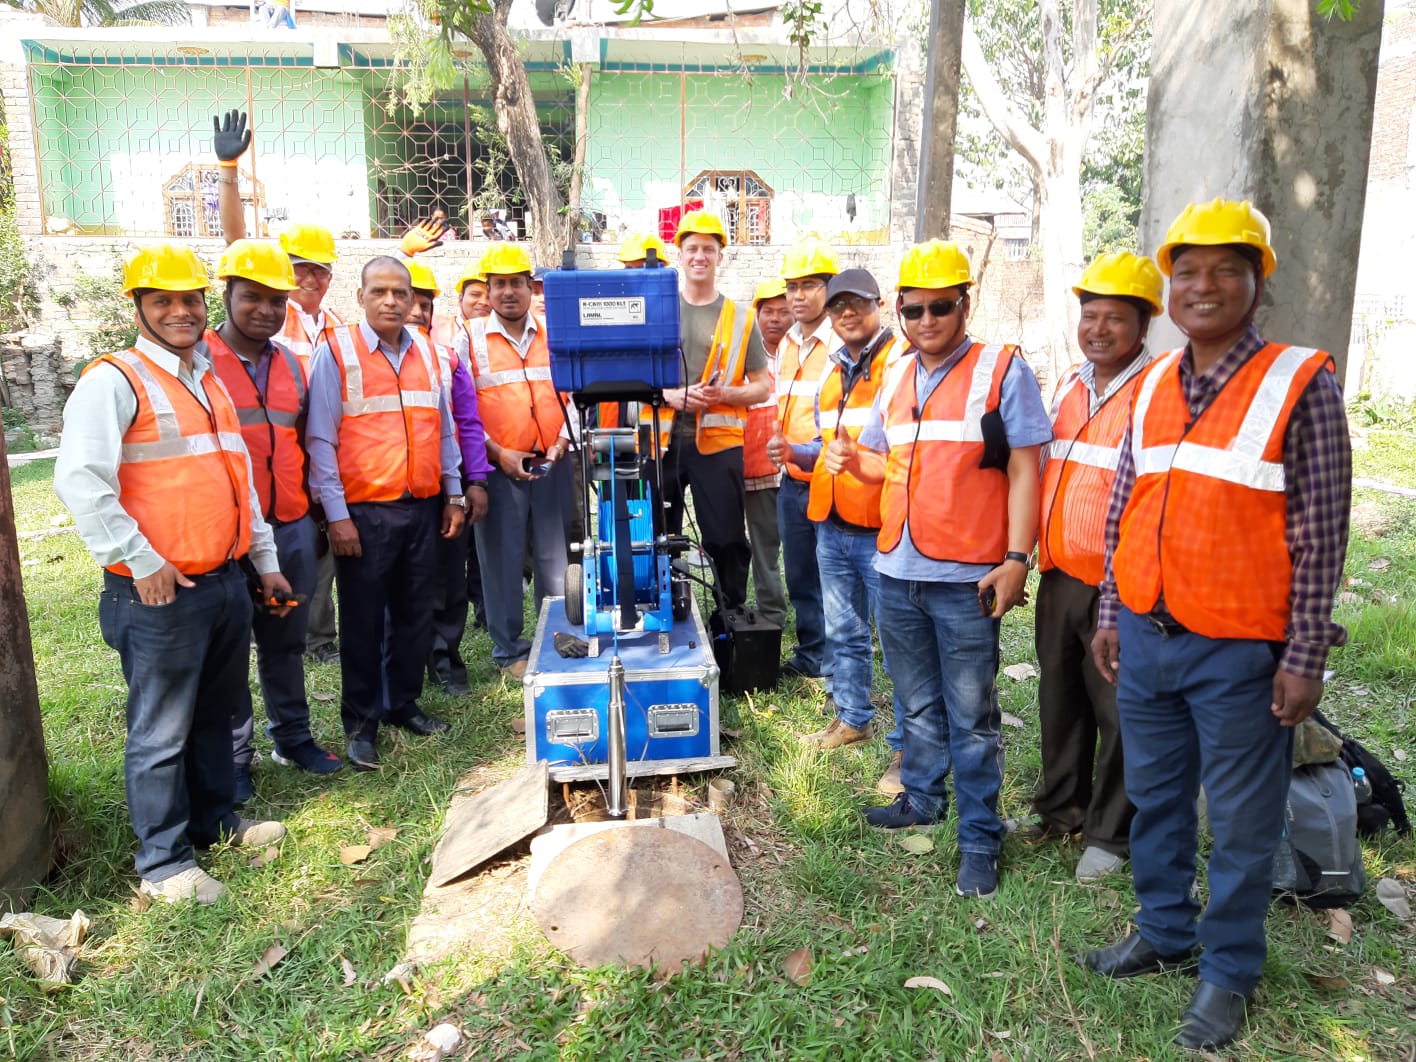
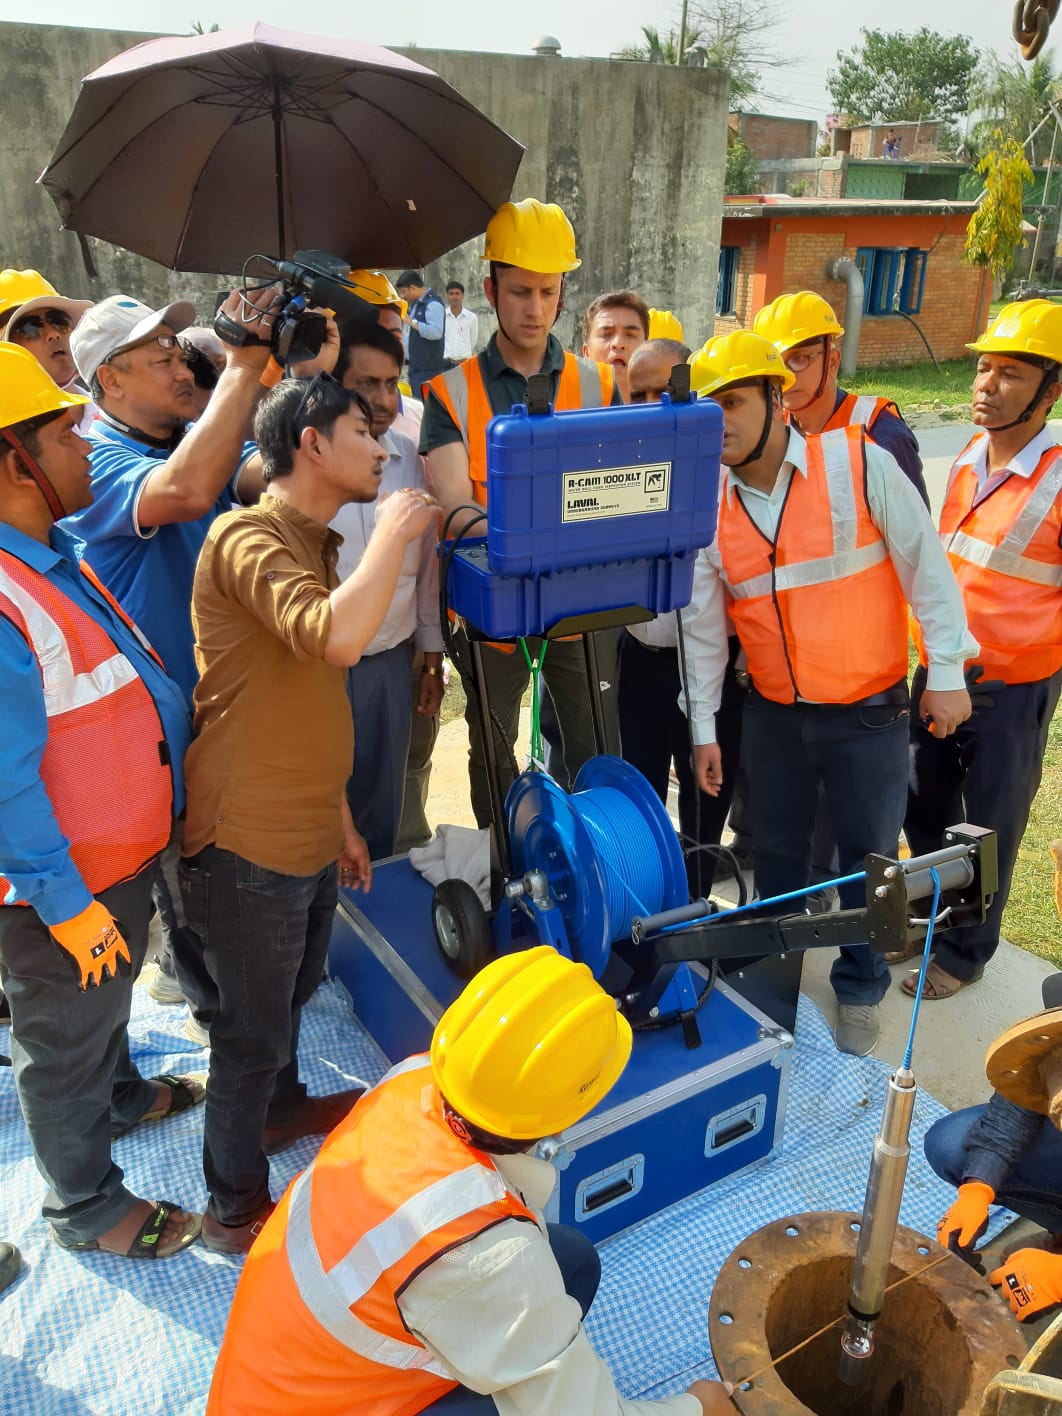
Workers surrounding RCAM Complete Borehole Camera System for Well Inspection
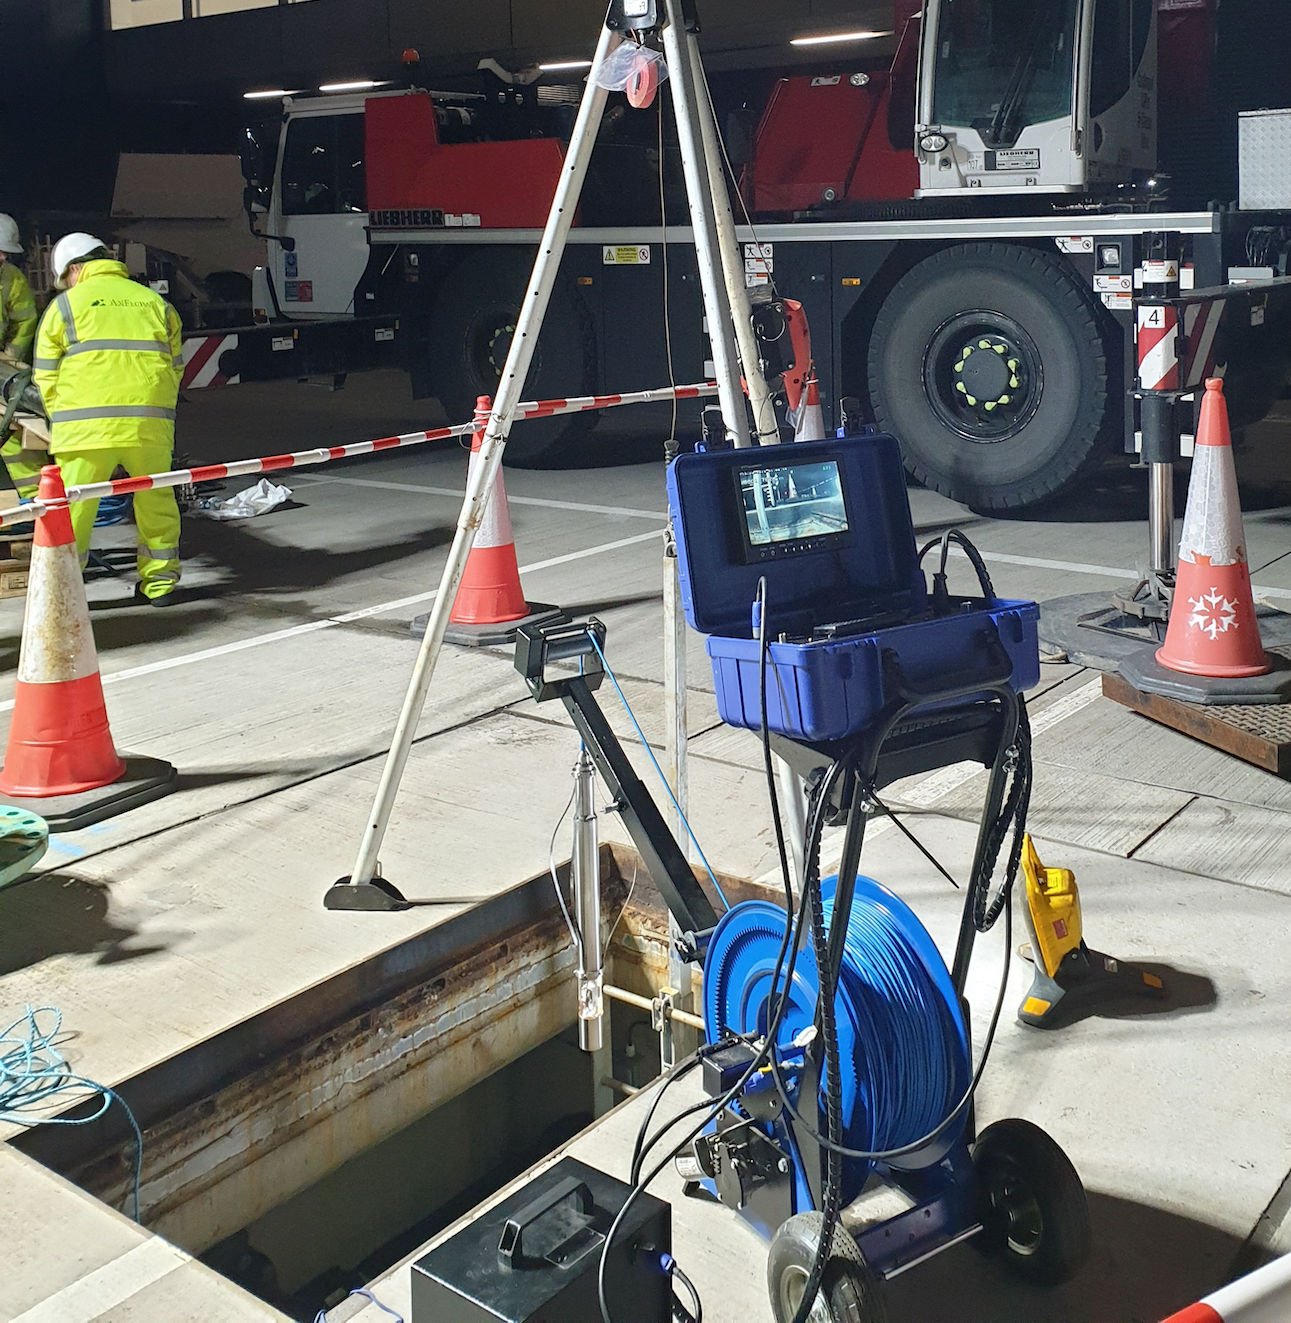
R-CAM underground well inspection
R-CAM TLE Level Wind Borehole Camera on Jobsite
Workers using control unit on RCAM complete system to inspect well